แนะนำรองเท้า Keen สำหรับผู้ชาย 2023
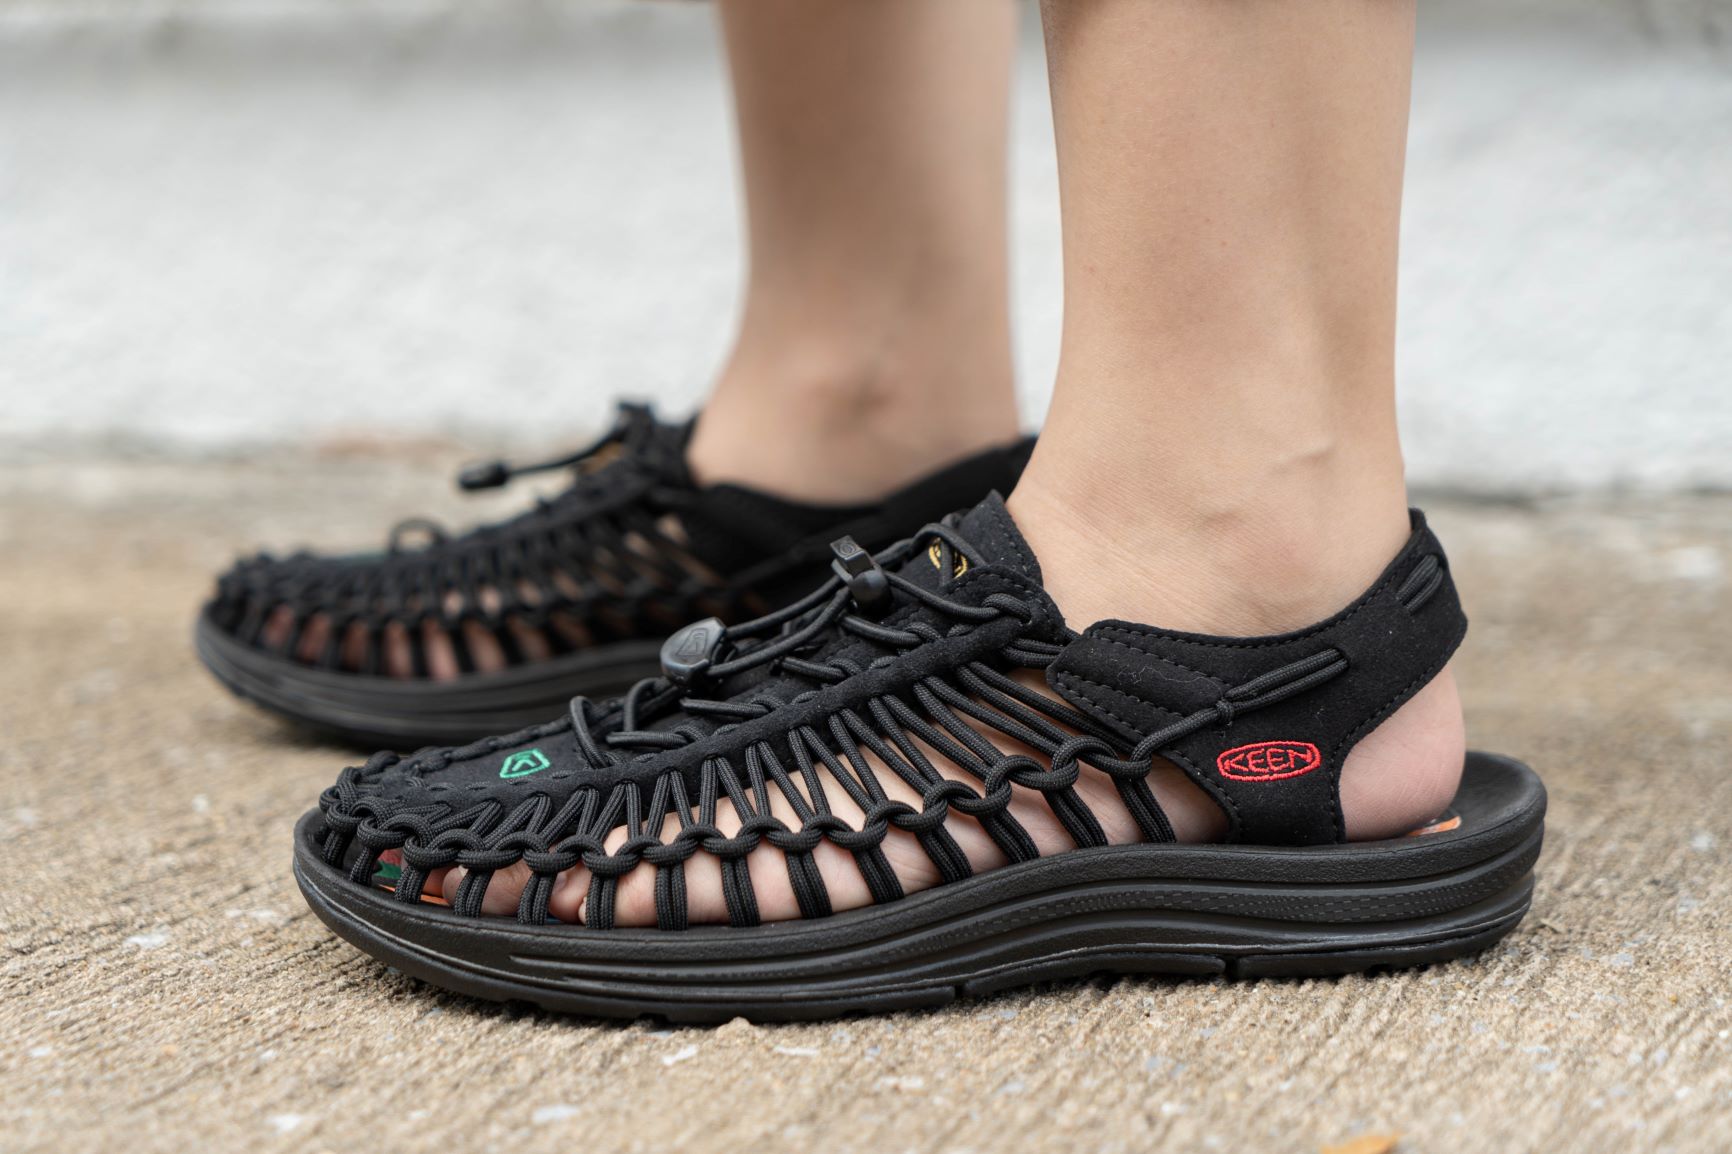
เพราะว่าเราจะต้องใช้เท้าในชีวิตประจำวันเป็นประจำ การเลือกรองเท้าสักคู่ไว้สวมใส่นั้นจะต้องพิจารณาก่อนว่ารองเท้าคู่นั้นเหมาะสำหรับการใช้งานประเภทไหนบ้างและทำจากวัสดุใด ทั้งในส่วนของตัวรองเท้าและพื้นรองเท้า อีกทั้งยังต้องสวมใส่สบายและมีรูปทรงที่เหมาะกับรูปเท้าของตนเองด้วย ซึ่งรองเท้าจากแบรนด์ KEEN นับว่าเป็นรองเท้าที่ขึ้นชื่อ ทั้งในเรื่องของการใช้งานได้หลากหลายโอกาส สามารถปกป้องเท้าผู้สวมใส่ได้ดีและผลิตจากวัสดุคุณภาพดี ทนทาน จึงทำให้รองเท้า Keen นั้นได้รับความนิยมอย่างต่อเนื่อง และมีคนสนใจหันมาสวมใส่กันมากยิ่งขึ้น วันนี้เราจึงได้รวบรวมรองเท้า Keen สำหรับผู้ชายมาฝากกันเลย KEEN รุ่น Men’s NEWPORT H2 รองเท้าที่ออกแบบมาเพื่อรองรับกิจกรรมที่หลากหลาย สามารถได้ตั้งแต่วันที่สบายๆ ไปจนถึงวันที่ต้องทำกิจกรรมหนักๆ คุณสมบัติของตัวรองเท้ารุ่นนี้มีจุดเด่นคือเป็นรองเท้าแตะแบบกันน้ำ จึงทำให้คุณสามารถมั่นใจได้ว่ารองเท้าคู่นี้จะสามารถช่วยคุณเดินอย่างมั่นคง หากคุณต้องไปทำกิจกรรมในพื้นที่ ที่เปียก แฉะ ส่วนของอัปเปอร์ของรองเท้ารุ่นนี้ทำมาจากผ้าโพลีเอสเตอร์แบบสามารถซักได้ แห้งไว ไม่บาดเท้า พร้อมมีช่องระบายอากาศ ที่ทำให้คุณสามารถเคลื่อนไหวเท้าได้เป็นอิสระมากยิ่งขึ้น KEEN รุ่น Men’s UNEEK รุ่นที่โดดเด่นด้วยงานถักเชือกพาราคอร์ด 2 เส้นที่ สร้างลวดลายการถักอันเป็นเอกลักษณ์ที่เห็นได้จากรองเท้า KEEN เท่านั้น ประกอบด้วยพื้นรองเท้าน้ำหนักเบาใส่สบาย พร้อมกับแผ่นไมโครไฟเบอร์ด้านบนที่ช่วยดูดซับเหงื่อ ตัวด้านหลังโอบอุ้มข้อเท้าด้วยแผ่นไมโครไฟเบอร์ ช่วยกระชับเท้าตลอดการเคลื่อนไหวสวมใส่สบาย ถอดก็ง่ายเช่นกัน KEEN รุ่น Men’s NEWPORT HIKE […]